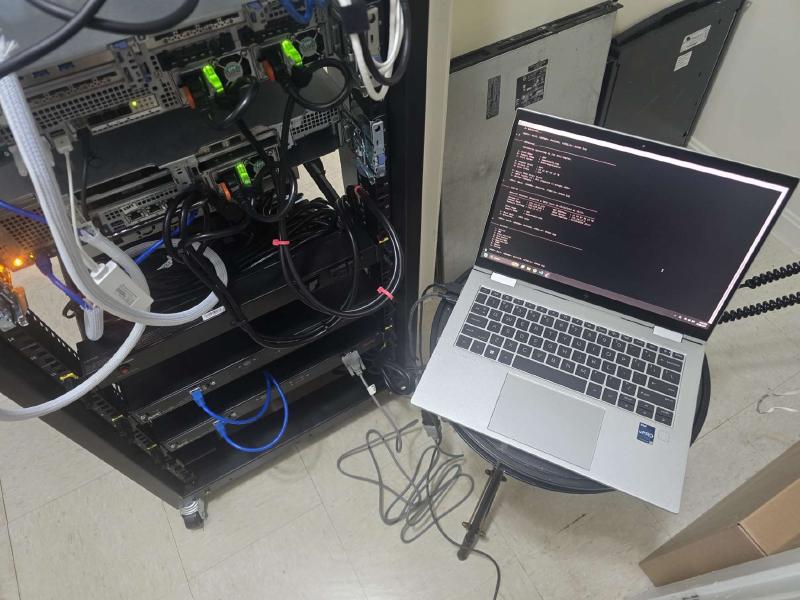
After the APC AP7750 transfer switches were physically installed and cabled, the next step was to recover and configure the management interfaces. Both units include older AP9617 Network Management Cards, so the reset and configuration process required a little more work than a modern web-based reset.
The first challenge was confirming serial access. A USB-to-serial adapter was installed on the laptop and verified in Windows as a working COM port. PuTTY was able to open a blank serial session, confirming that the adapter and driver were functioning correctly. The missing piece was the correct APC serial cable.
AP7750 Management Recovery#
Fortunately, I found an APC 940-1000B cable in a saved box of cables. When I had acquired this equipment from a scrap bin a year ago, this kind of grab was exactly the right mindset as I knew this older hardware would require legacy connections, and that “save it in a bin for a rainy day” mindset paid off. You know the bin, that one that has a ton of cables in it that when you finally get rid of one, you immediately need the very cable you threw out. This cable ended up being the correct cable for connecting to the AP7750 console. Using the USB-to-serial adapter, the 940-1000B cable, and PuTTY, I was able to access the ATS console successfully.
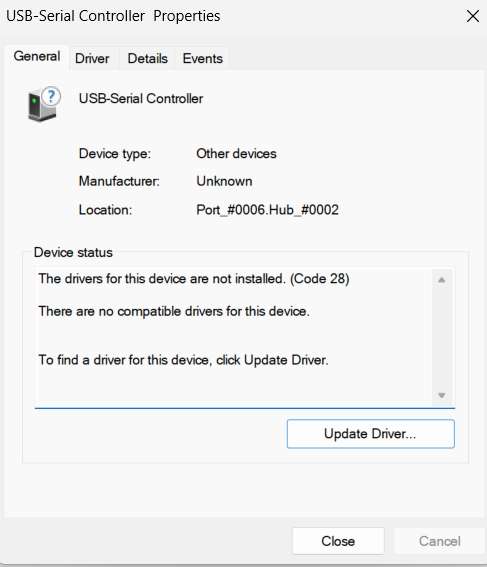
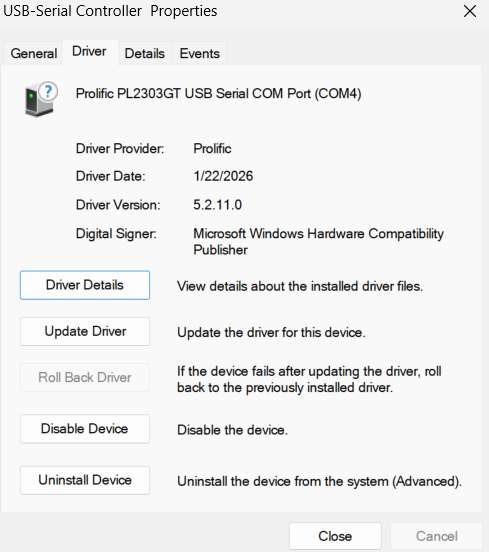
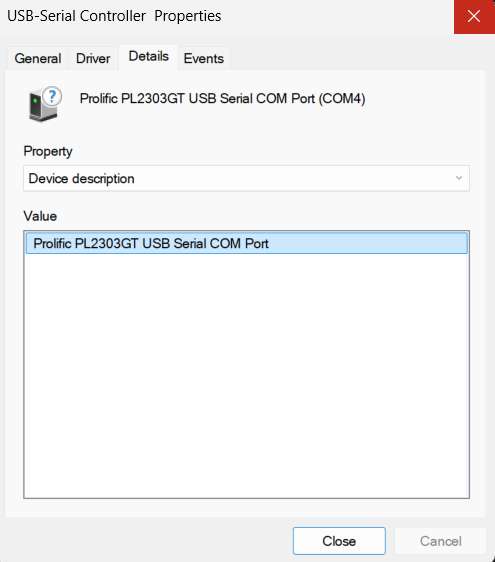
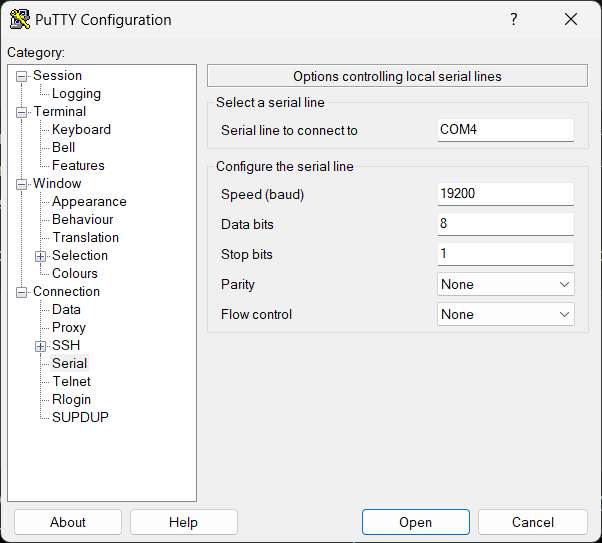
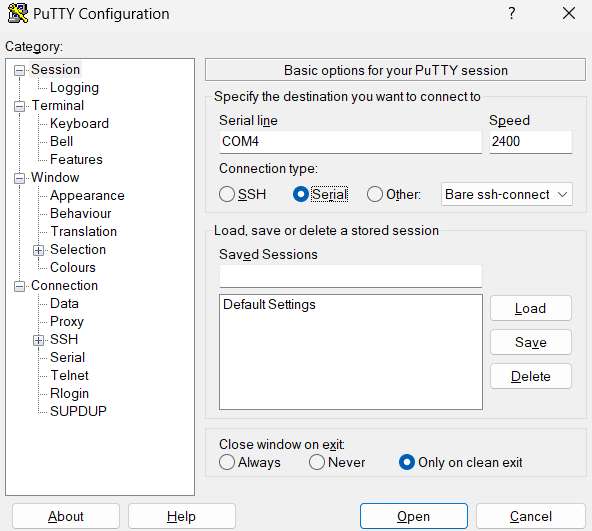
Initial serial settings for these older NMCs:
Serial port: COM4
Speed: 19200
Data bits: 8
Stop bits: 1
Parity: None
Flow control: None
When logging in with the temporary recovery access information, the baud rate is changed to
2400instead of19200.
Factory Reset#
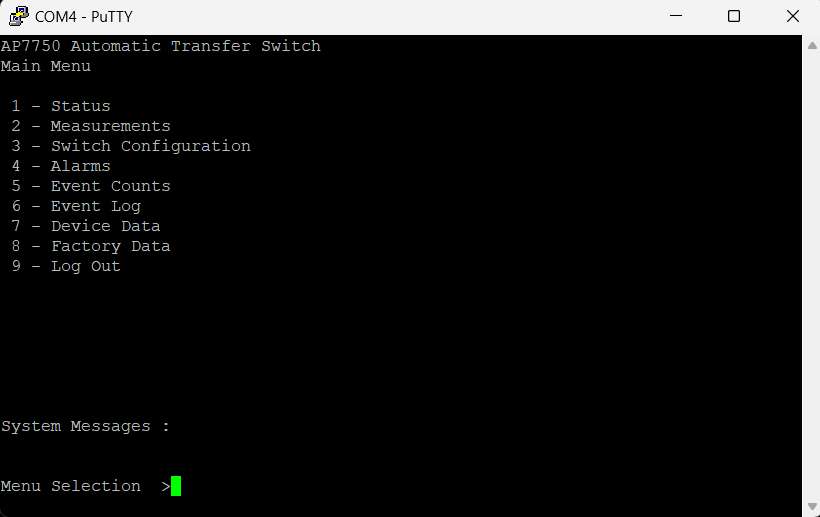
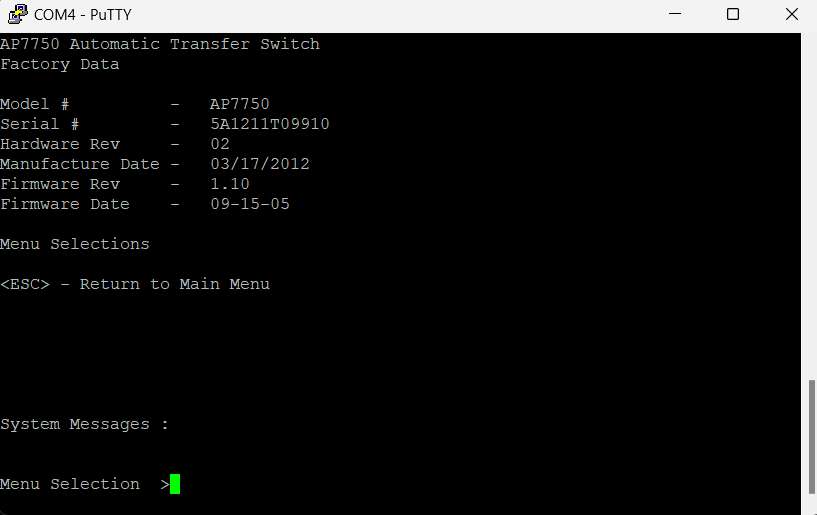
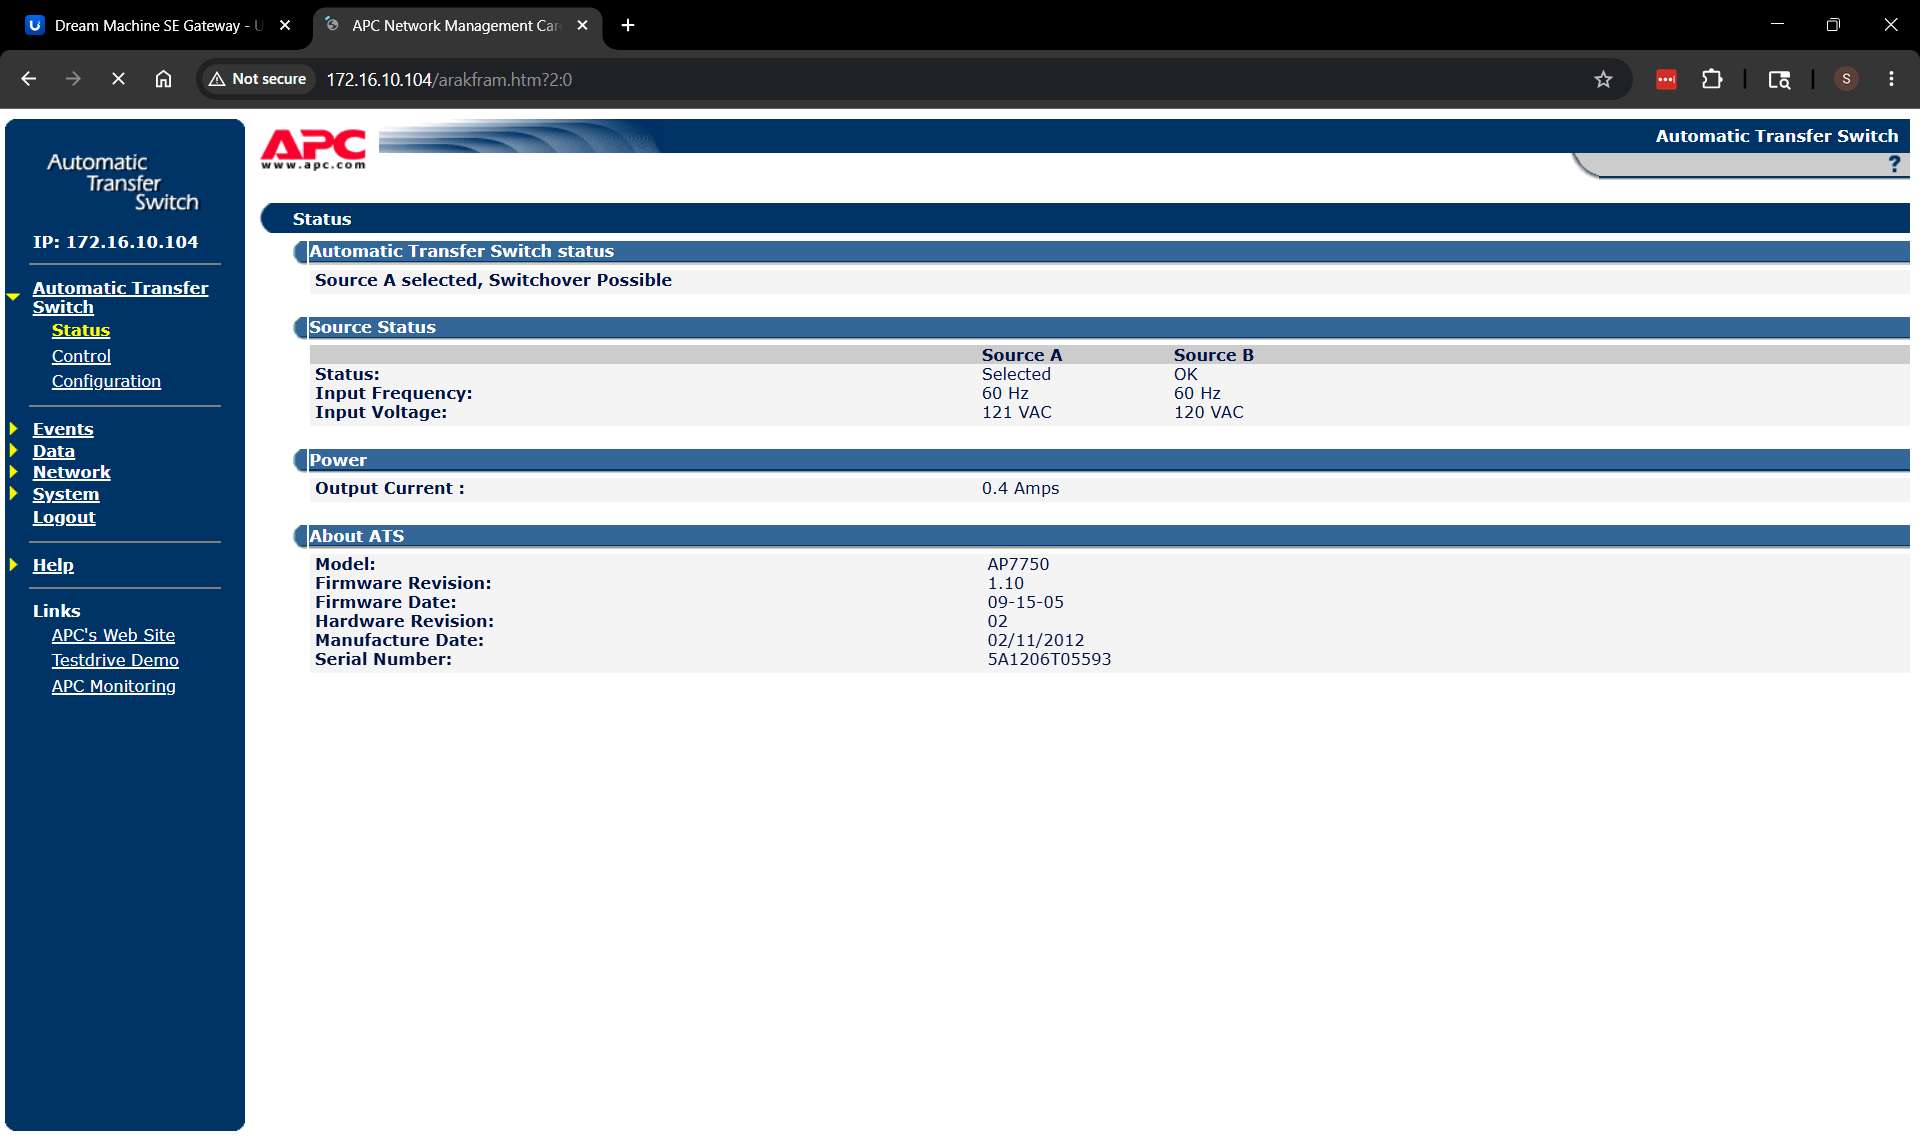
Once connected, I confirmed device information from the console. The units are older AP7750 models running very old firmware from 2005. While the interface is dated and fairly barebones, it’s still functional for exactly what I need it for. Furthermore, transfer switches don’t really change in terms of what they do, so even hardware as old as this is more than enough for the application I’m using it for.
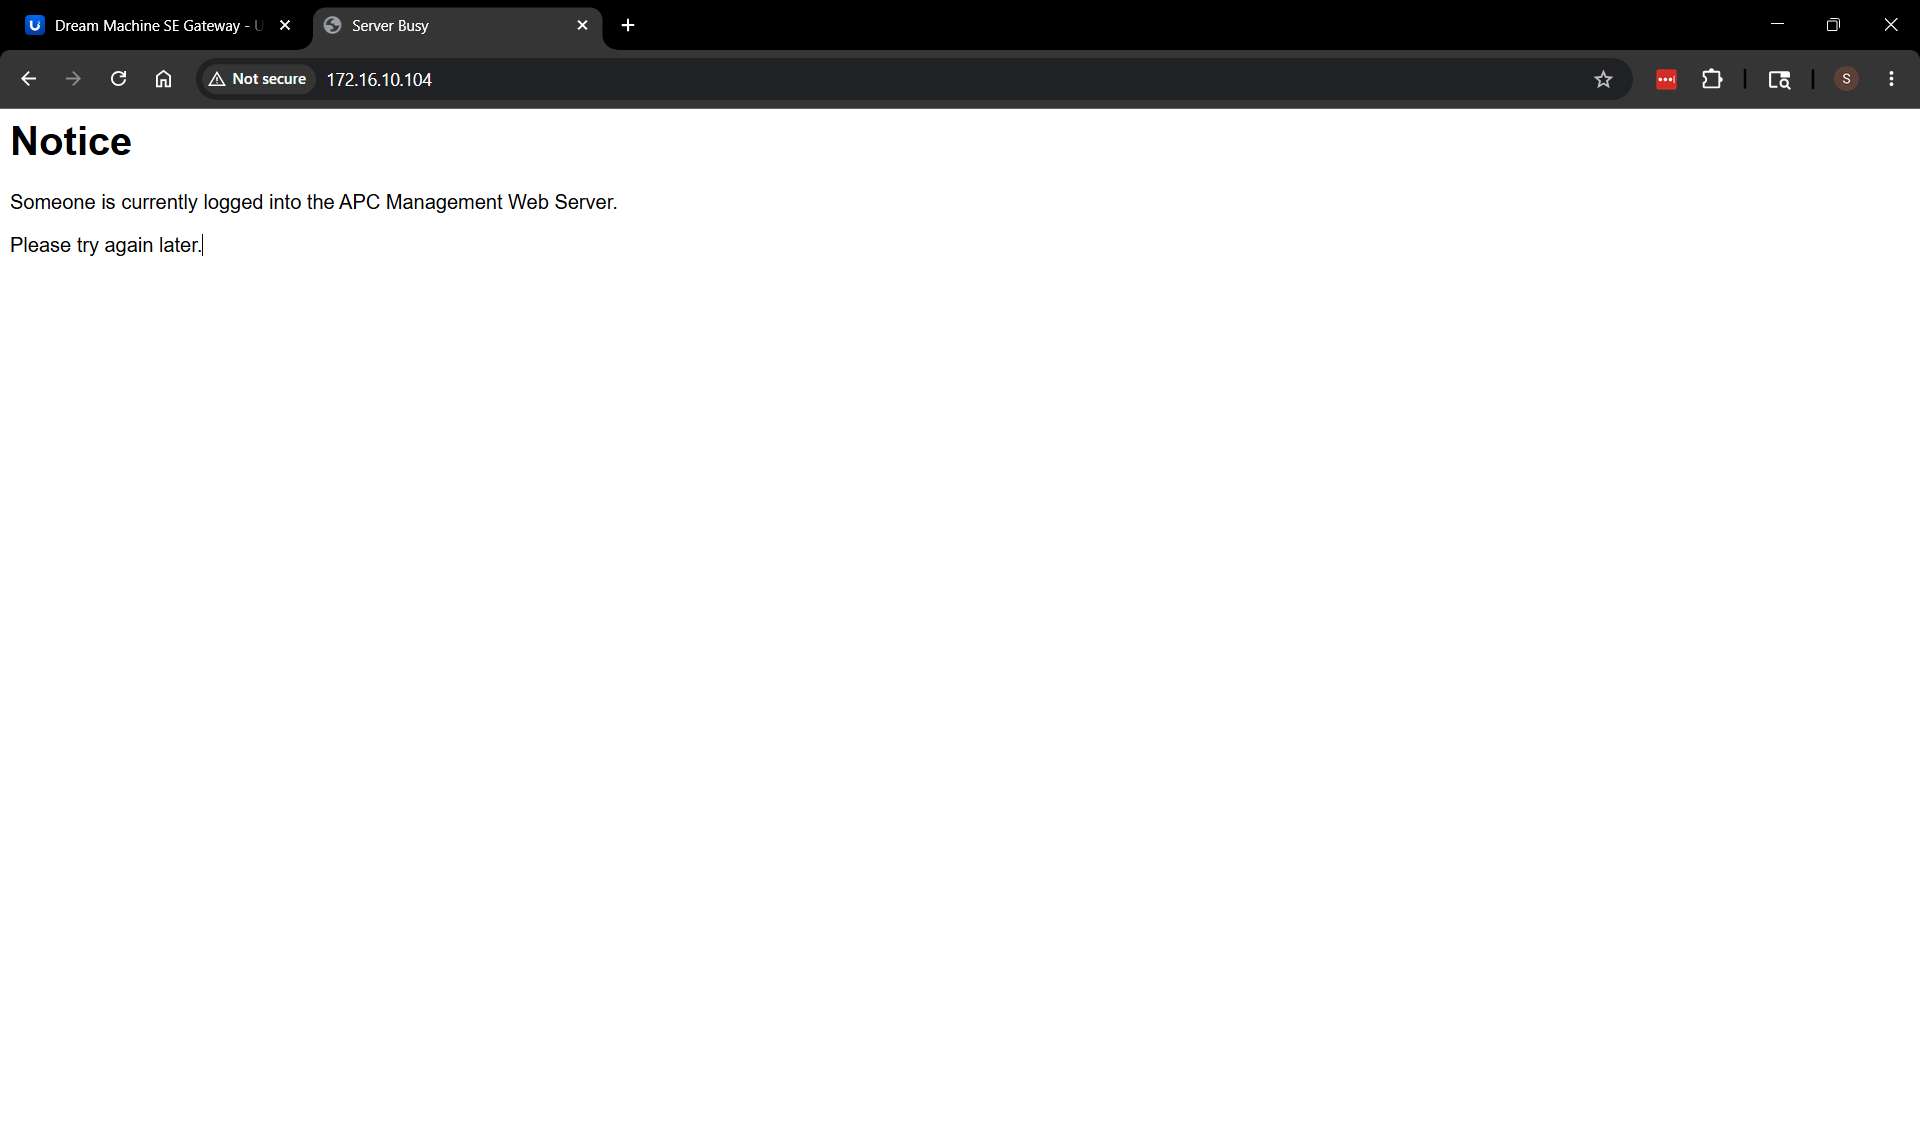
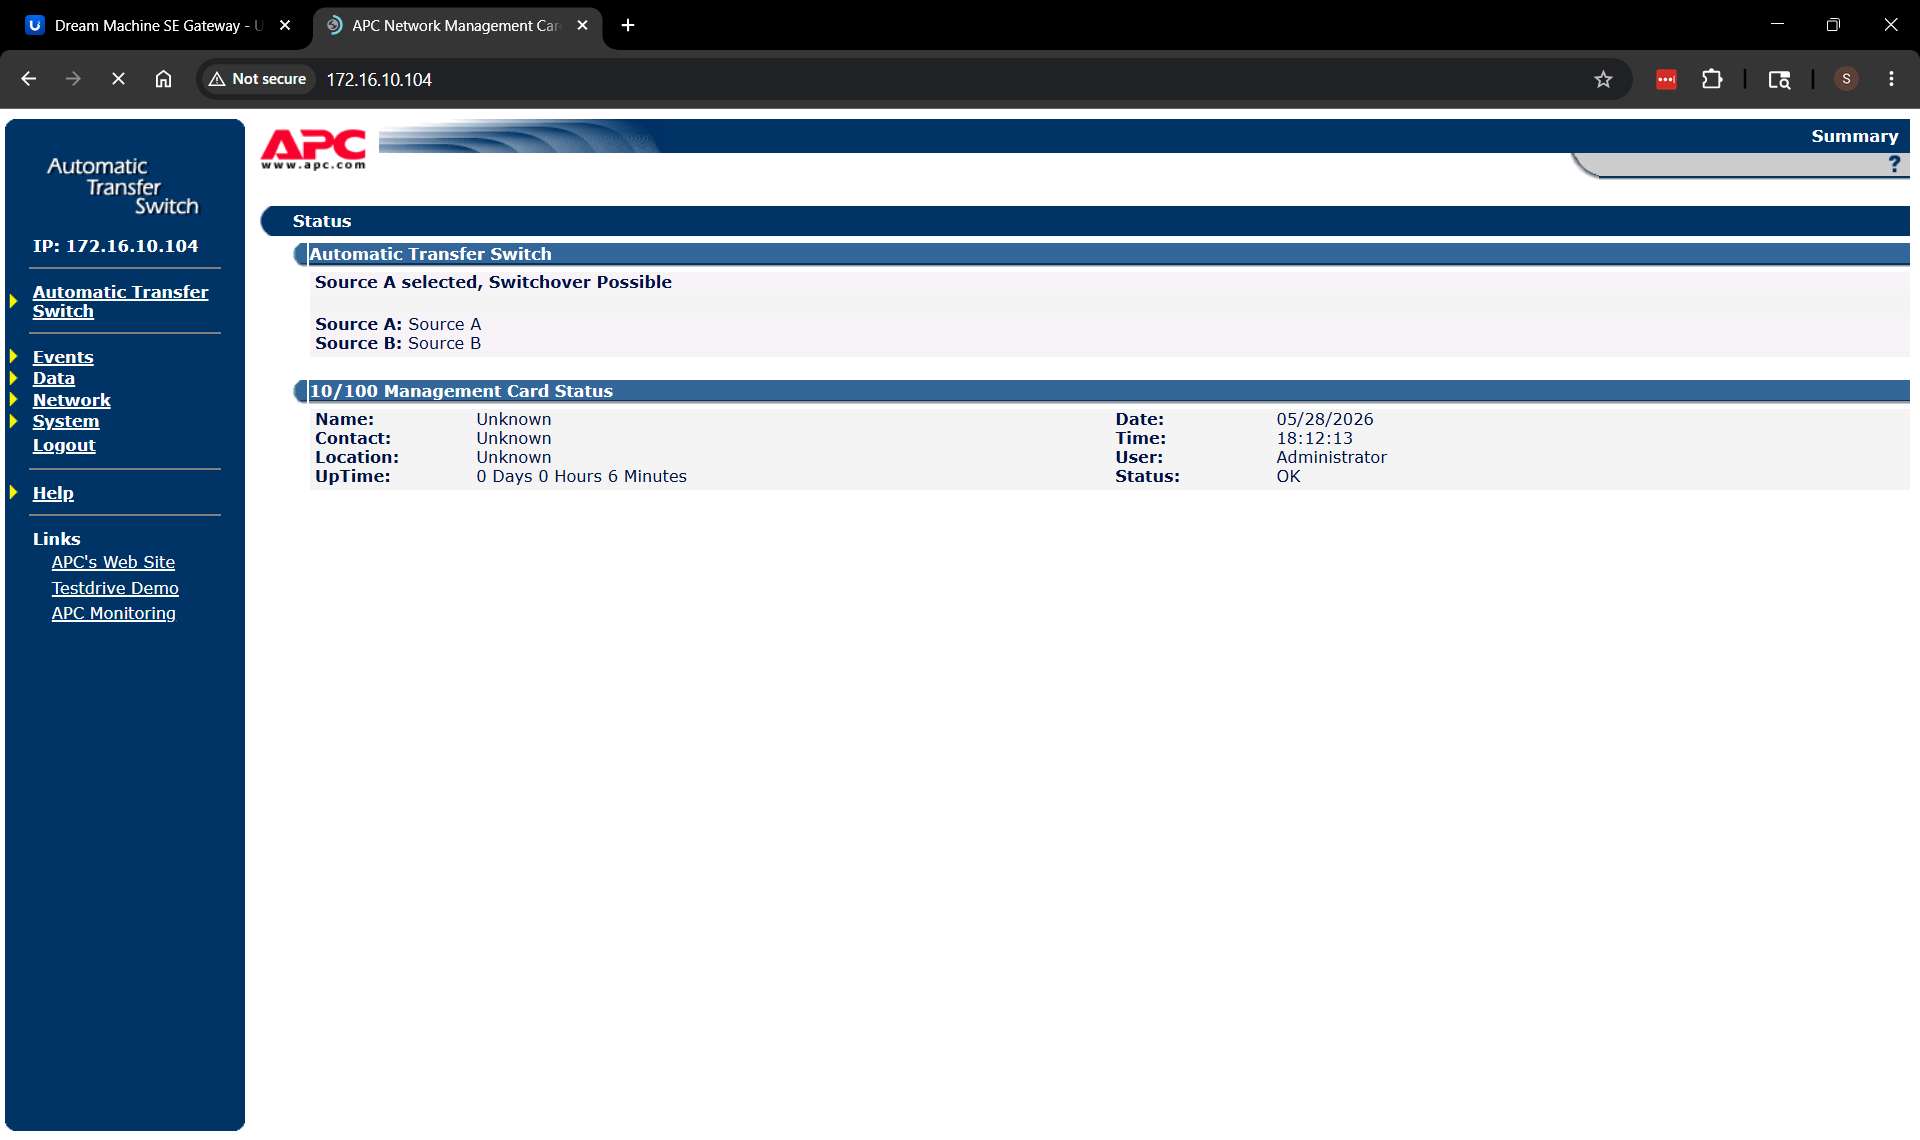
I recovered access to the Network Management Cards in the terminal by factory resetting the units. The NMCs were configured for DHCP, but the default APC behavior required a DHCP vendor cookie before accepting a lease. Since the UDM SE was not providing the APC-specific DHCP cookie, I changed the setting so the cards would accept normal DHCP offers without requiring the cookie. After that change, both NMCs accepted DHCP assignments from the UDM SE and immediately served the HTTP dashboards.
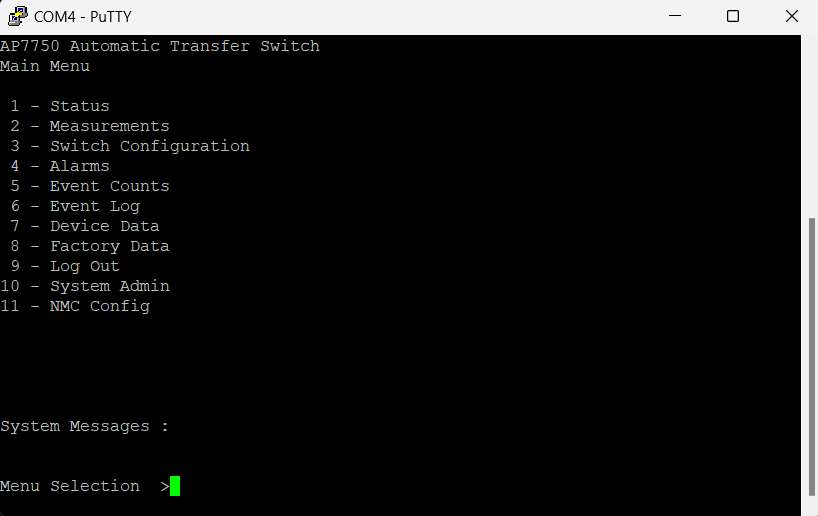
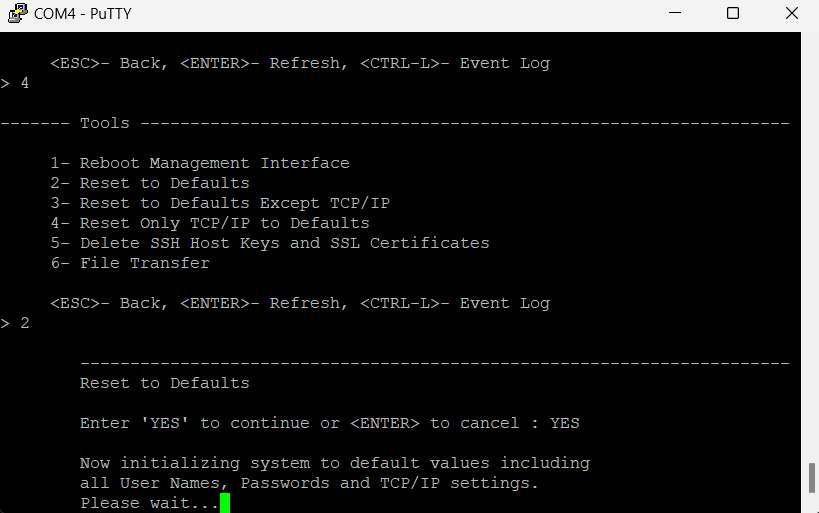
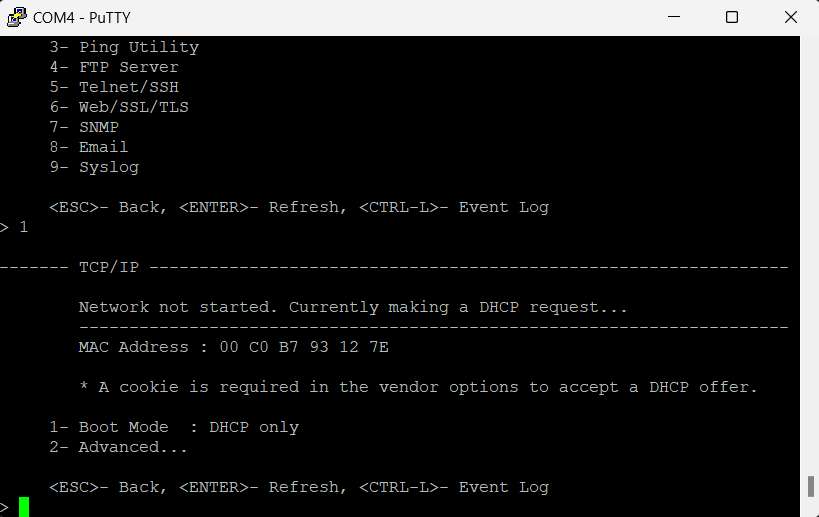
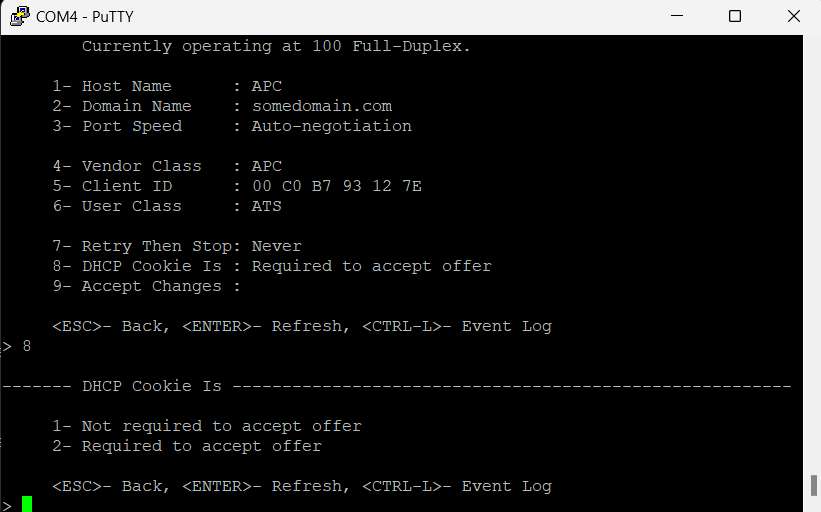
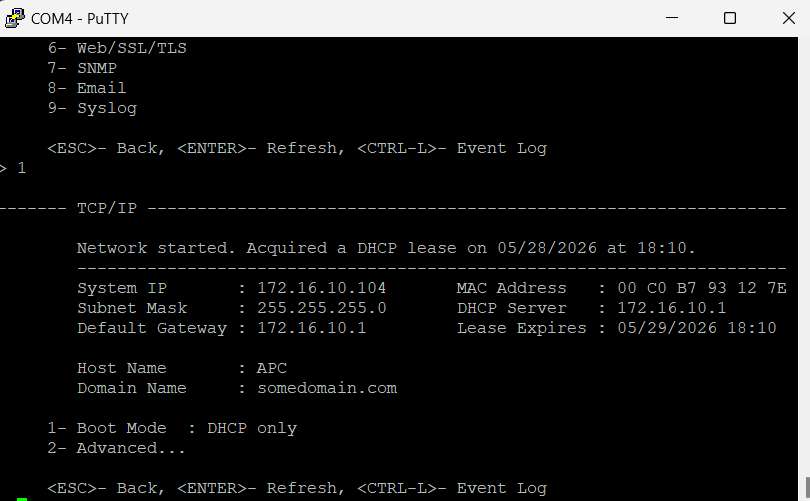
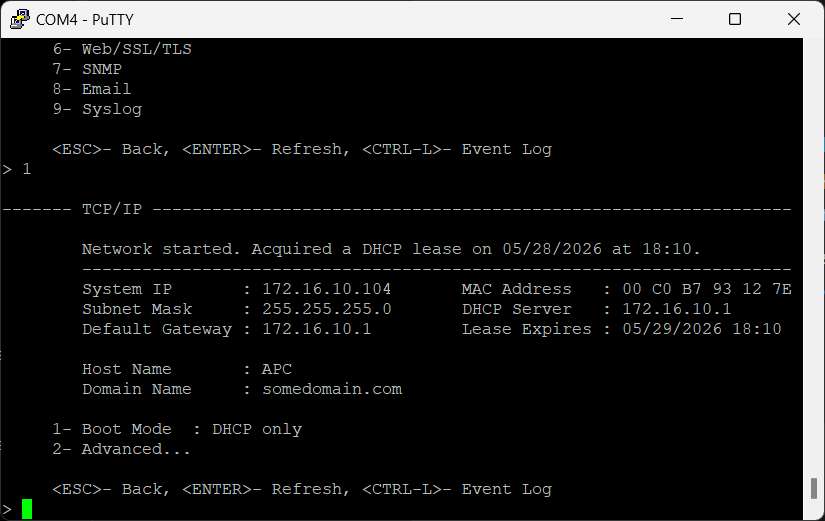
Once each ATS was reachable by IP address, I logged into the web interface, reset the default password, and saved the credentials in the password manager. I also verified that the previous employer’s settings had been cleared, allowing me to configure the units cleanly for my own environment.
Labeling#
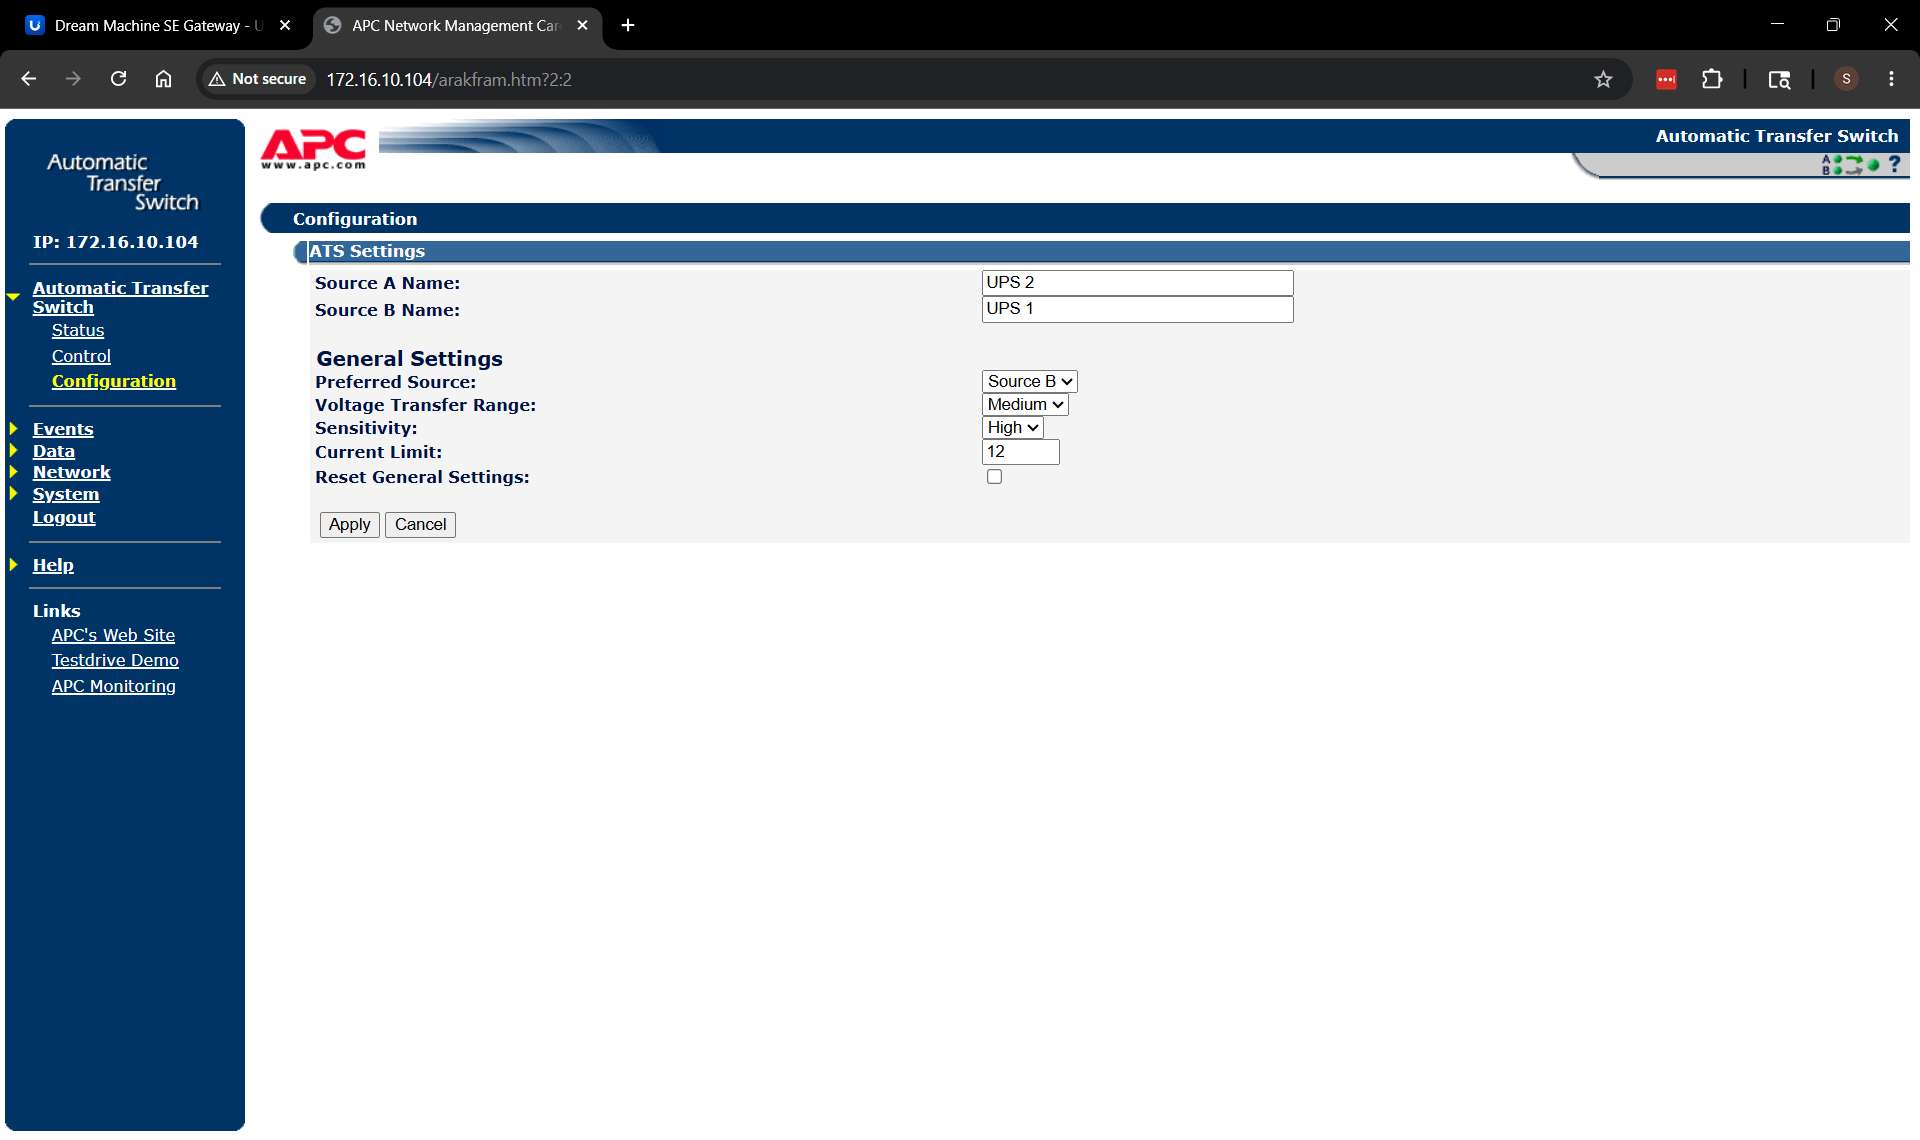
I then standardized the source labels on both ATS units:
Source A: UPS 1
Source B: UPS 2
For ATS 1, I set the preferred source to UPS 1. For ATS 2, I set the preferred source to UPS 2. This makes the power layout easier to understand. As mentioned in the previous article, ATS 2 prioritizes the primary networking infrastructure, while ATS 1 prioritizes the servers.
Network and Time Servers#
Both ATS units were left in DHCP mode, but static IP reservations were created on the UDM SE. I always prefer this approach because it keeps IP address management centralized and easier to work with from a single platform. I also updated the time settings on both units to use Google’s time servers.
time.google.com
time2.google.com
After configuration, I verified all settings on both units and performed a basic failover test. I simulated source loss by disconnecting each source input one at a time from each ATS. Both units transferred to the alternate source as seamlessly. After each test, I checked the event logs on both units to confirm that the source loss and transfer events were recorded correctly.
This finally completes the functional validation of the ATS installations. Both units are now physically installed, reachable through reserved IP addresses, synchronized to time servers, and confirmed to transfer properly.
Reply by Email